Thank you!
Your submission has been sent.

Cavity sliders are a practical space-saving solution and provide years of trouble-free operation if installed correctly. Installation is usually a straightforward exercise, however over the years we've seen some common points that if not considered can lead to problems. Here's a few handy tips that when followed will help you avoid any issues.
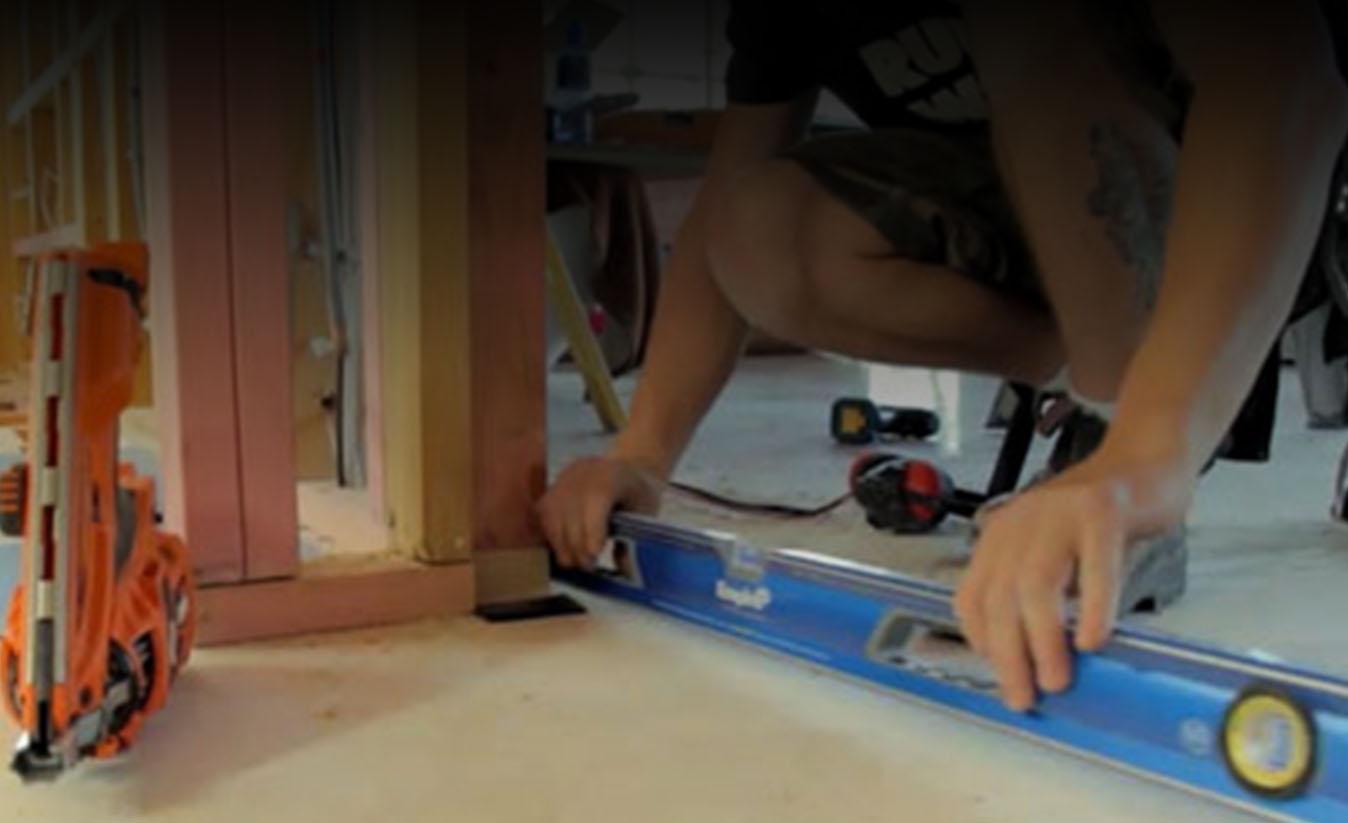
Taking time to ensure the floor is level before you start your installation will make the job quicker and easier.
This simple step allows you to slide the door open and closed during installation to check that everything lines up correctly and nothing is rubbing. Don’t fix the cavity slider to the floor until the door is running parallel to the cavity pocket.
The cavity slider comes with split jambs intentionally ‘rounded out’. This round out is to accommodate any slight bowing of the door leaf and to allow door hardware to clear the jambs. The standard clearance is 5-7mm between door and split jamb using a 38mm door. The supplied ‘jamb spreader’ must be inserted into the cavity slider opening prior to fixing wall linings and architraves.
Taping up the track ensures the running surface remains free of paint and dust. These contaminants are common causes of noisy operation in a cavity slider.
Request a copy of the CS Pocket Guide for more installation tips or download a pdf version here.
Cavity Slider Installation Tips
Thank you!
Your submission has been sent.